Sampling Your Live Playing and Making It Sound Like a “Sample”, Not Just Live Instrumentation Re-Recorded
| By AMIR SAID (SA’ID) |
 Perhaps one of the most misused and misrepresented terms in beatmaking is “live instrumentation”. What does live instrumentation actually mean, anyway? On the surface, one might be quick to say that live instrumentation is the making of music without the use of samples. But given the fact that a great deal of so-called live instrumentation relies on the use of samples (e.g. sound modules, software samplers with stock samples, etc.) I’m not sure that’s an appropriate description. But I concede that generally speaking, live instrumentation simply refers to playing and arranging, in the traditional sense, any series of “notes” in a pattern or sequence.
As it stands today, there are those in the beatmaking community who elevate the use of live instrumentation above the use of sampling, as if sampling’s primitive and “unoriginal”. An absurd notion, of course, especially when you consider the fundamentals of beatmaking and hip hop/rap music and the reality of modern music production tools’ use of samples. But nonetheless, there are those who tow the generic line that live instrumentation is original, and sampling is not; or that live instrumentation is more original than sampling—you get the picture! That being said, how should sampling live instrumentation be looked at? Further, does the process of sampling live instrumentation belong in the live instrumentation side of things or in the sampling column?
While some may stubbornly debate this, my view is that sampling live instrumentation is just as original and creative as any other beatmaking method. I draw no elitist or fundamentalist distinction. Moreover, I see the process of sampling live instrumentation as clearly being a fusion of both concepts and compositional processes, wherein the more skills and understanding that you have, the more likely you’ll be able to express your ideas in the style and sound that you want.
But how do you bring these two worlds together? That depends on you and the style and sound that you’re going for. My approach is always to convert my live instrumentation into the sampling form. In other words, whatever I play out live, in the traditional sense, I sample it (and chop it) then fuse it (combine it, blend it) together with other samples—either traditional vinyl record samples or other live instrumentation converted samples. Thus, in the tutorial below, I break down my method for converting live guitar riffs into samples.
Step 1: Understand and Respect What a Riff Is and Can Be
A riff is a short series of notes played in a pattern. A riff can be simple or complex. Further, riffs are most commonly associated with the guitar (“guitar riff”) but in fact, they can also be played on other instruments, e.g. a piano riff, a sax riff, etc. All popular forms of music employ riffs, and depending on the style, sound, and form, riffs can be used as an accompanying sub-melody (motif or melody within a melody) or as the basis for which an entire song is built upon. Because hip hop/rap music is a fundamentally rhythmic, grooved-based music form, riffs often play a central role in the composition of beats (in The BeatTips Manual, I discuss this concept, as well as hip hop’s/rap’s unique relationship with Western music theory, much more in detail).
Step 2: Live Instrumentation: Play Some Riffs on My Fantom S 88 Keyboard Work Station
(Note: You don’t have to use a keyboard, you can use a MIDI controller and a standalone software sound module like Native Instruments’ Guitar Rig to do the same thing.)
Before I began playing some riffs, I adjust the filter envelope on my Fantom. Usually, I’ll adjust the ARP RANGE and ARP ACCENT. I always leave the release and tempo the same as part of my custom “preset”. After I’ve made these adjustments, I play riffs based on the ideas and themes that I have in mind at the moment. For the audio example I included below, I had a scene from a 1970s movie in my head. It was a brief scene really, nothing major, just two cats walk into a pool hall. But the background music that was playing when they walked in was dope, so I used that as inspiration. I didn’t try to mimic the notes; Instead, I went for the style, sound, and feel of that entire scene. After I play a riff that fits what I’m going for, I hit the “Skip Back Sampling” button on my Fantom and record it.
Step 3: Get Riff into Pro Tools for Effects Processing
At this stage, depending on the riff itself and the type of idea I’ve got going, I will do either one of two things: (a) I Record the riff directly into Pro Tools (my DAW of choice); or (b) I sample the riff into my Akai MPC 4000, loop it, then record the sampled riff from the MPC 4000 into Pro Tools. (Either way, I’m routing through my Mackie analog mixing console into Pro Tools.) For the example that I’ve included in this post, I recorded the riff directly into Pro Tools.
Step 4: Track the Riff on Repeat, Then Duplicate the Track
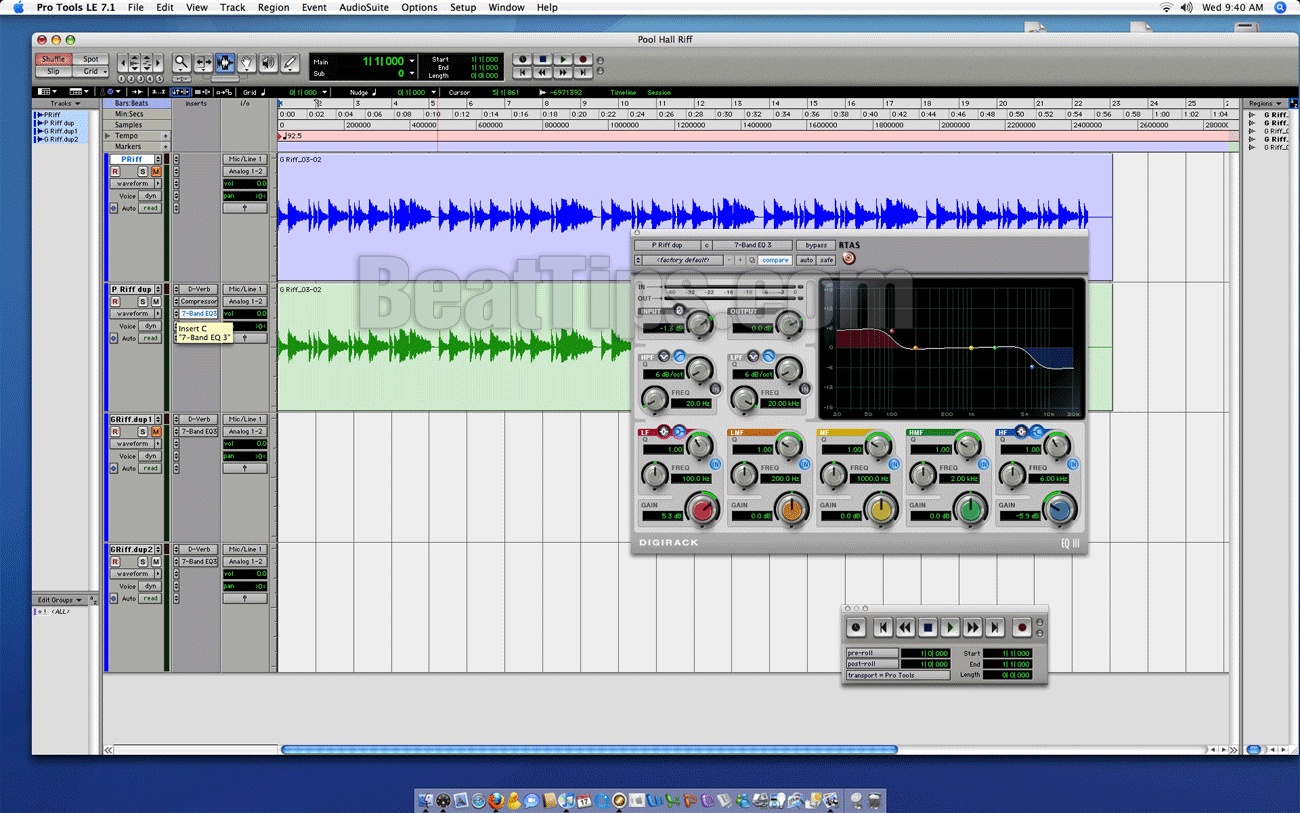
Here, I try to give myself at least 50 seconds of the riff on repeat; this way I can work the effects as I listen to what the riff is doing, all the while I’m getting a better picture of how I should flip the riff, once the effects are set. After I’ve recorded the riff into a Pro Tools track, I duplicate the track and apply all the effects on the duplicate, leaving the source riff track as is. This allows for quick A and B references. (Note: This becomes particularly important when I make multiple duplicates).
Step 5: Work in the Effects
Usually, I only use three effects (plug-ins) on guitar riffs: reverb, 7-band EQ, and compression. (In Guitar Rig you could go even further with it, adding distortion and other effects.) For reverb, I like using a “large room” setting because it gives me the dusty airiness that I’ll need to make a riff from today sound old and in line with the types of vinyl record samples I like to use. In other words, I use reverb keeping in mind the overall texture and feel of the beat that I’m going to be making.
Step 6: Sample the Riff Into My MPC 4000
Once the effects are set, I sample the riff into my MPC 4000.
Step 7: I. Gets. Busy!!!
At this stage, I’m in complete sampling mode, so everything moves FAST. After chopping the riff to my liking (the initial chopping), I put it in a sequence, then loop it. I listen to the loop of the chopped riff to see what direction to go in. Do I pitch it up or pitch it down? It always depends on the style, feel, and sound that I’m going for. With the example below, I went with the “pool hall” theme from the movie that inspired the riff, which prompted me to pitch the riff up. At this point, I also made one more chop, completely cutting off the tail of the original guitar riff.
After I got the pitch of the riff right, I built a drum framework around it, using one of my 5 default kicks, “kick 4 S950”; a snare, “snare bucket lid” (yes, I literally made a snare from striking a small bucket with a lid on top, combined with my “snare 34”); two hi-hats (two strikes of my “hat vintage”); and my signature “gunshot snare”.
Once I had the drum framework rocking, I added in a piano/bass stab that I sampled off of a vinyl record. To make the guitar riff and the piano/bass stab sound as though they came from the same time and space (not necessarily the same record), I threw a notch filter on the guitar riff to blend and tuck it, then I opened up some treble on the channel where the piano/bass stab was being outputted (I could have used the Lo-Hi Pass filter on my MPC 4000 to get the same effect, but I was moving fast; I knew where this beat was headed and I wanted to finish so I could write a rhyme to it).
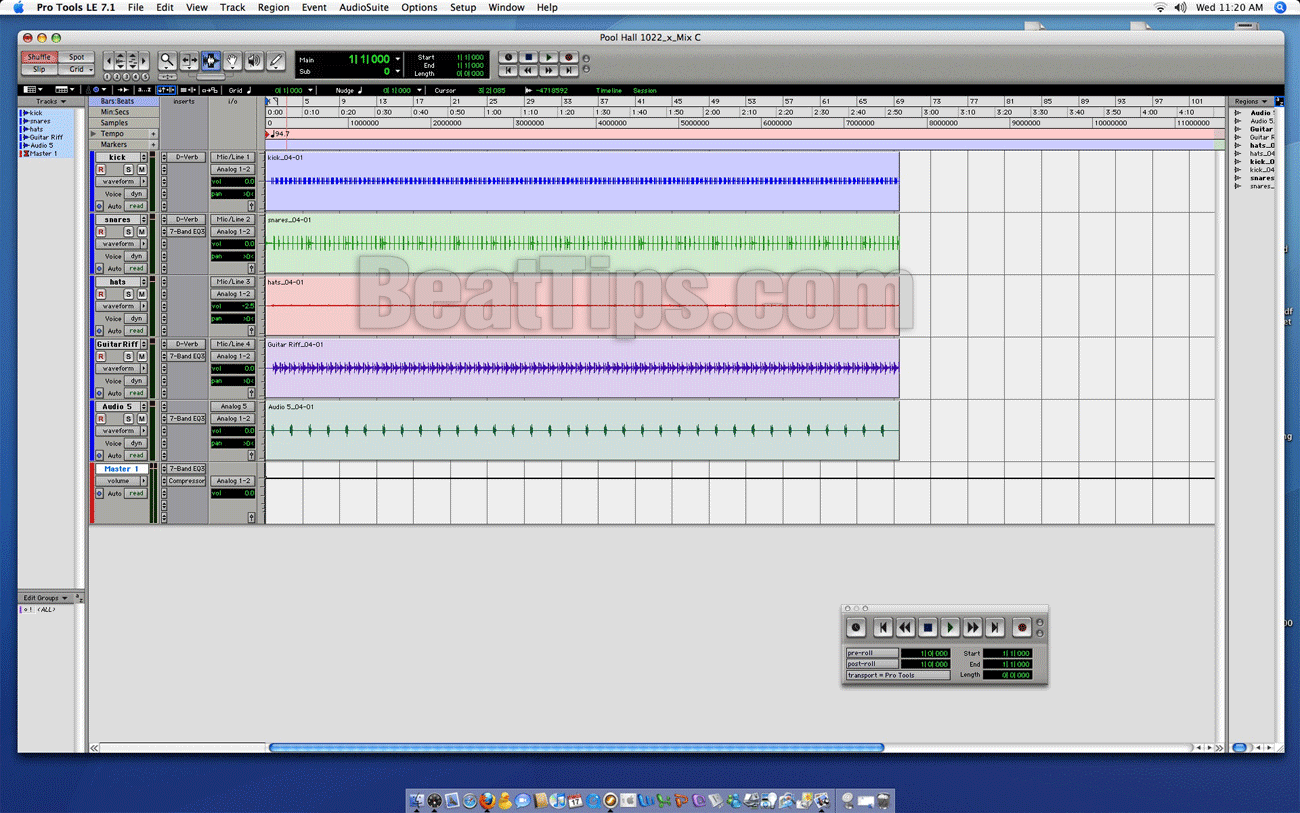
After a couple a couple EQ adjustments on the Mackie console, I dumped the beat into Pro Tools. Back in Pro Tools, I did some additional EQ’ing, created a master track, and bounced the beat to disc. Done…
Note: Below I have included both the original guitar riff as I played it and the beat made using the sampled riff. (Next week I might post the rhyme vocal I did for this beat)
The music below is presented here for the purpose of scholarship
Pool Hall Guitar Riff (Live riff played by Sa’id)
Pool Hall beat (prod. by Sa’id)


This article is CRAZY good! Props…I’m going to try your eq methods when I get home!
Also, did you stop using your s950? I noticed that yousaid that you wanted to complete the beat asap. Is that why you sampled back into the MPC instead?
Thanks, DK,
Indeed, try those methods. More importantly, build upon them!
Yes, I still use my Akai S950. I have my S950 MIDI armed for either my Akai MPC 4000 or my Akai MPC 60II. When I use my MPC 4000, I go MIDI Out from the MPC 4000 to MIDI In of the S950. Likewise, when I’m using the MPC 60II, I go MIDI Out from the MPC 60II to MIDI In of the S950.
I used the MPC 4000 because I knew that I’d being using the filter effects on it. The MPC 4000 has filter effects that the S950 does not. However, the S950’s filter (a dynamite one) I use when I know that I won’t need the MPC 4000’s effects.
All in all, the speed comes into play because in working on the MPC, in general.
—Sa’id
How I wish I could play this just based on guitar tabs chords. You have to know how to really rock out to do these justice!
These techniques are great for mapping out parts for your solo compositions. Of course it’s a whole different experience playing with other people.